Prerequisites
- Products: Liquid UI WS, Liquid UI Server or Local DLL, Client Software
- Commands: del(), pushbutton(), load()
- File: wsoffice.dll
Purpose
This article guides you through the process of renaming a file using a custom function created with ActiveXObject. This function will make a call to the local file system to get the file and rename it. Here, we’ll be using the SAP Easy Access screen to demonstrate the process. Follow the steps below.
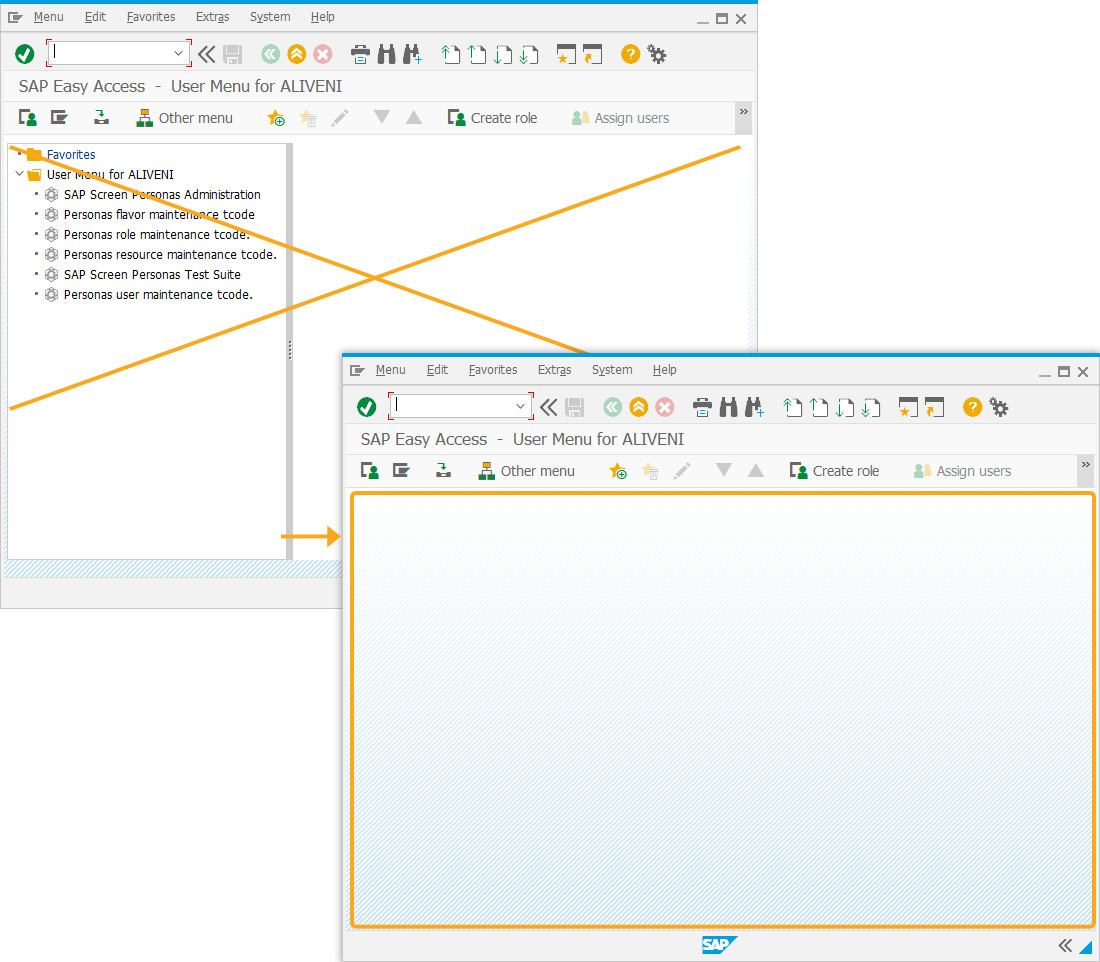
- Delete the image container on the SAP Easy Access screen
- Add a toolbar push button to initiate the process
- Add a function to rename a file
User Interface
//Create this file inside your script folder for customizing the SAP Easy Access screen, SAPLSMTR_NAVIGATION.E0100.sjs
//Now, let's add the Liquid UI script to the above file and save it.
Customization
- Delete the image container on the SAP Easy Access screen using del().
// Deletes an image container on SAP Easy Access screen
del("X[IMAGE_CONTAINER]");

- Add a toolbar push button labeled Rename File, which executes the renamefile process on click.
// Creates a push button labeled Rename File name
pushbutton([TOOLBAR], "Rename File",{"process":renamefile});

- In order to facilitate file management operations, a function has been implemented for the renaming of files. Within the confines of the function, an object designated as "fso" is instantiated by leveraging the ActiveXObject mechanism. This object serves as an interface for interacting with the file system via the wsoffice.dll library. Upon activation of the function, either through user input or an automated process, the methods associated with this object are employed to locate the target file and modify its name accordingly.
// Function to rename a file using ActiveXObject in SAP function renamefile(){ // Loads wsoffice.dll file load("wsoffice.dll"); var fso, f; // Creates new fso ActiveXObject fso = new ActiveXObject("Scripting.FileSystemObject"); // Gets the details of the file in the specified path to f variable f = fso.GetFile("C:\\LiquidUI\\scripts\\MaterialInfo.txt"); // Renames the MaterialInfo text file to MaterialData text file f.Name = "MaterialData.txt"; // Prints the name of the text file in cornelious window println("Renames the MaterialInfo text file to "+ f.Name); } Note: You need to place the wsoffice.dll file in your scripts folder.
SAP Process
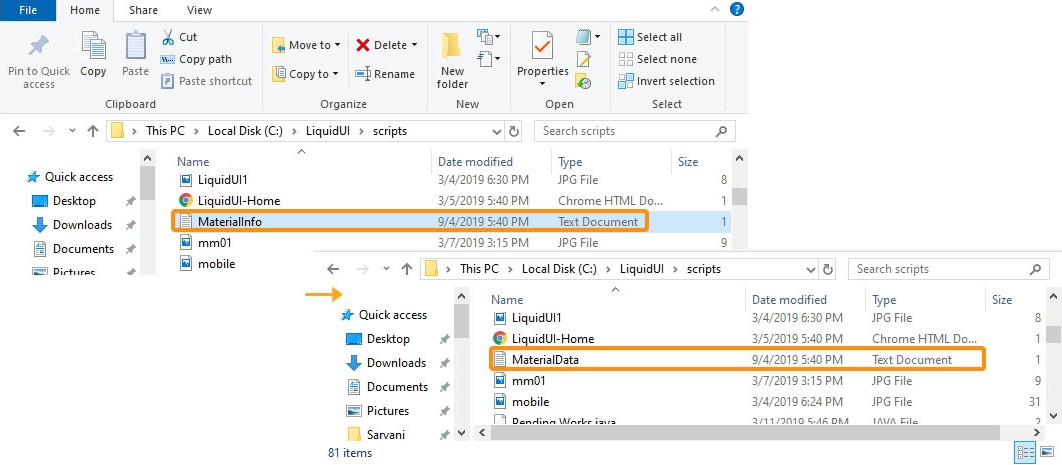
- Refresh the SAP Easy Access screen and click the Rename File toolbar push button to initiate the function. You will see the Book2 text file is renamed to MyFile2, as shown below.

- You can also see the file name changed in your scripts folder.


