Designer Installation
This section will describe the requirements to install GuiXT Server and the process by which it will be installed on a single system. This section covers the following topics:
To install GuiXT Designer, it is first necessary to ensure that the target system can support the installation. The host system can be any of the following Microsoft operating systems:
- Windows 2003 Server
- Windows Server 2008
For all systems, the install will require the following:
- RAM: 32MB
- HDD: 10MB of storage space
Windows 2003 Server
- CPU: 486 or above
- RAM: 16 MB or above (24MB recommended)
- HDD: 20 MB or above
- Browser: Internet Explorer 7 or above; Firefox 3.0 or above
- SAPGUI: 3.0 or above
Windows Server 2008
- CPU: 1.4GHz (x64) single-core or 1.3GHz dual-core processor
- RAM: 512MB (8GB recommended)
- HDD: 32GB
- Browser: IE 7 or above; Firefox 3.0 or above
- SAPGUI: 3.0 or above
The above requirements are for a typical implementation. However, it is possible to use GuiXT Server in conjunction with a Telnet server and the character-based SAPCONSOLE UI to communicate with non-Windows based RF handheld devices. For the system requirements for this implementation, please see the Help page.
The process to install the Classic GuiXT Designer is as follows:
- Download the Installer package from a location specified by a Synactive Support or Sales representative. The install package is named ‘DesignerSetup.exe’.
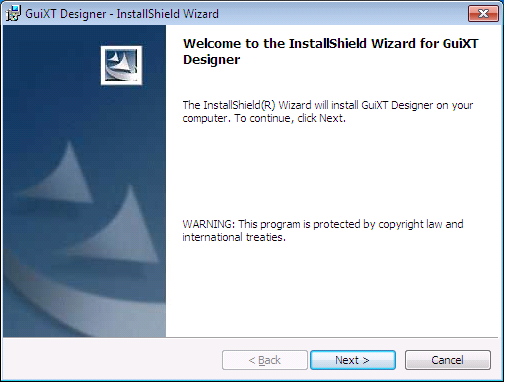
- Double-click the DesignerSetup.exe package. The InstallShield Wizard will start and the following screen will appear. Click Next:
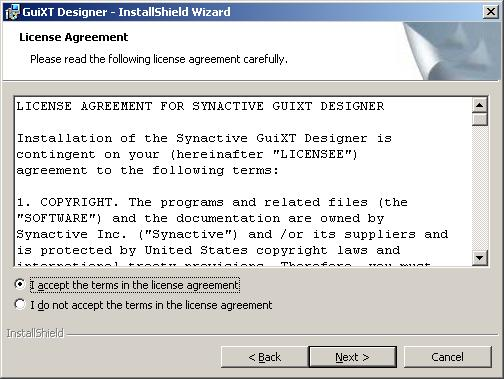
- The End User License Agreement window will display. Check the 'I Accept...' checkbox and click Next:
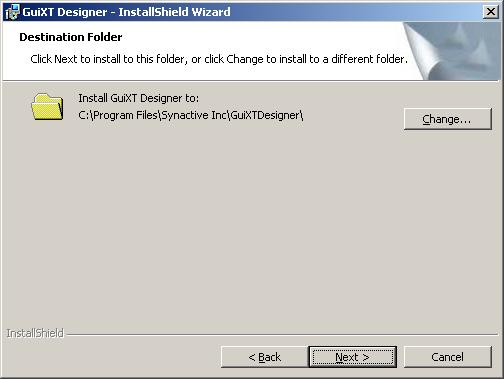
- The Destination Folder window will appear. Click Next:
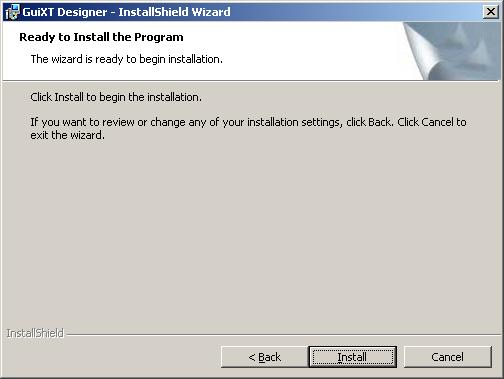
- The Ready To Install window will appear. Click the Install button:
- The status window shown below will display while the InstallShield Wizard installs the necessary files on the target system:

- The Finish window will display when the installation successfully completes. Click the Finish button to quit the InstallShield Wizard:

- The GuiXT Server is now installed on the target system.
Designer Documentation
Once the Designer is installed, it is necessary to install the documentation and the license. Installing licenses is covered in the Licenses section. To install the documentation, please do the following:
- Get the link to the Designer documentation CHM file from a Synactive Sales or Support representative.
- Specify the folder to download the CHM file. It should be the the same directory as the Designer itself. Typically, this will be C:\Program Files\Synactive Inc\Designer.
- Save the CHM file.
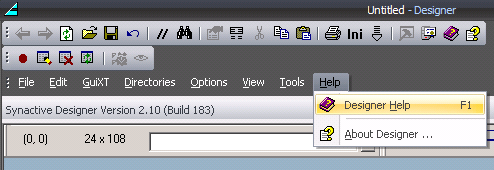
- Click the Designer Help icon (shown below) or press F1. The Help files should launch.
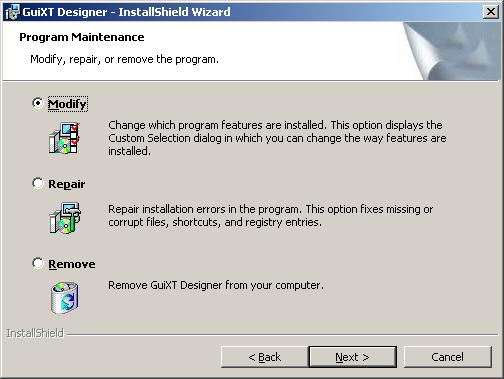
The InstallShield Wizard can also be used to repair or remove the Designer once it is installed to repair or remove, simply launch the Installer. The following screen will appear, from which users can choose to repair, modify or remove Designer: