In this article, we’ll guide you on installing a bot using the Install Wizard, which involves the following steps:
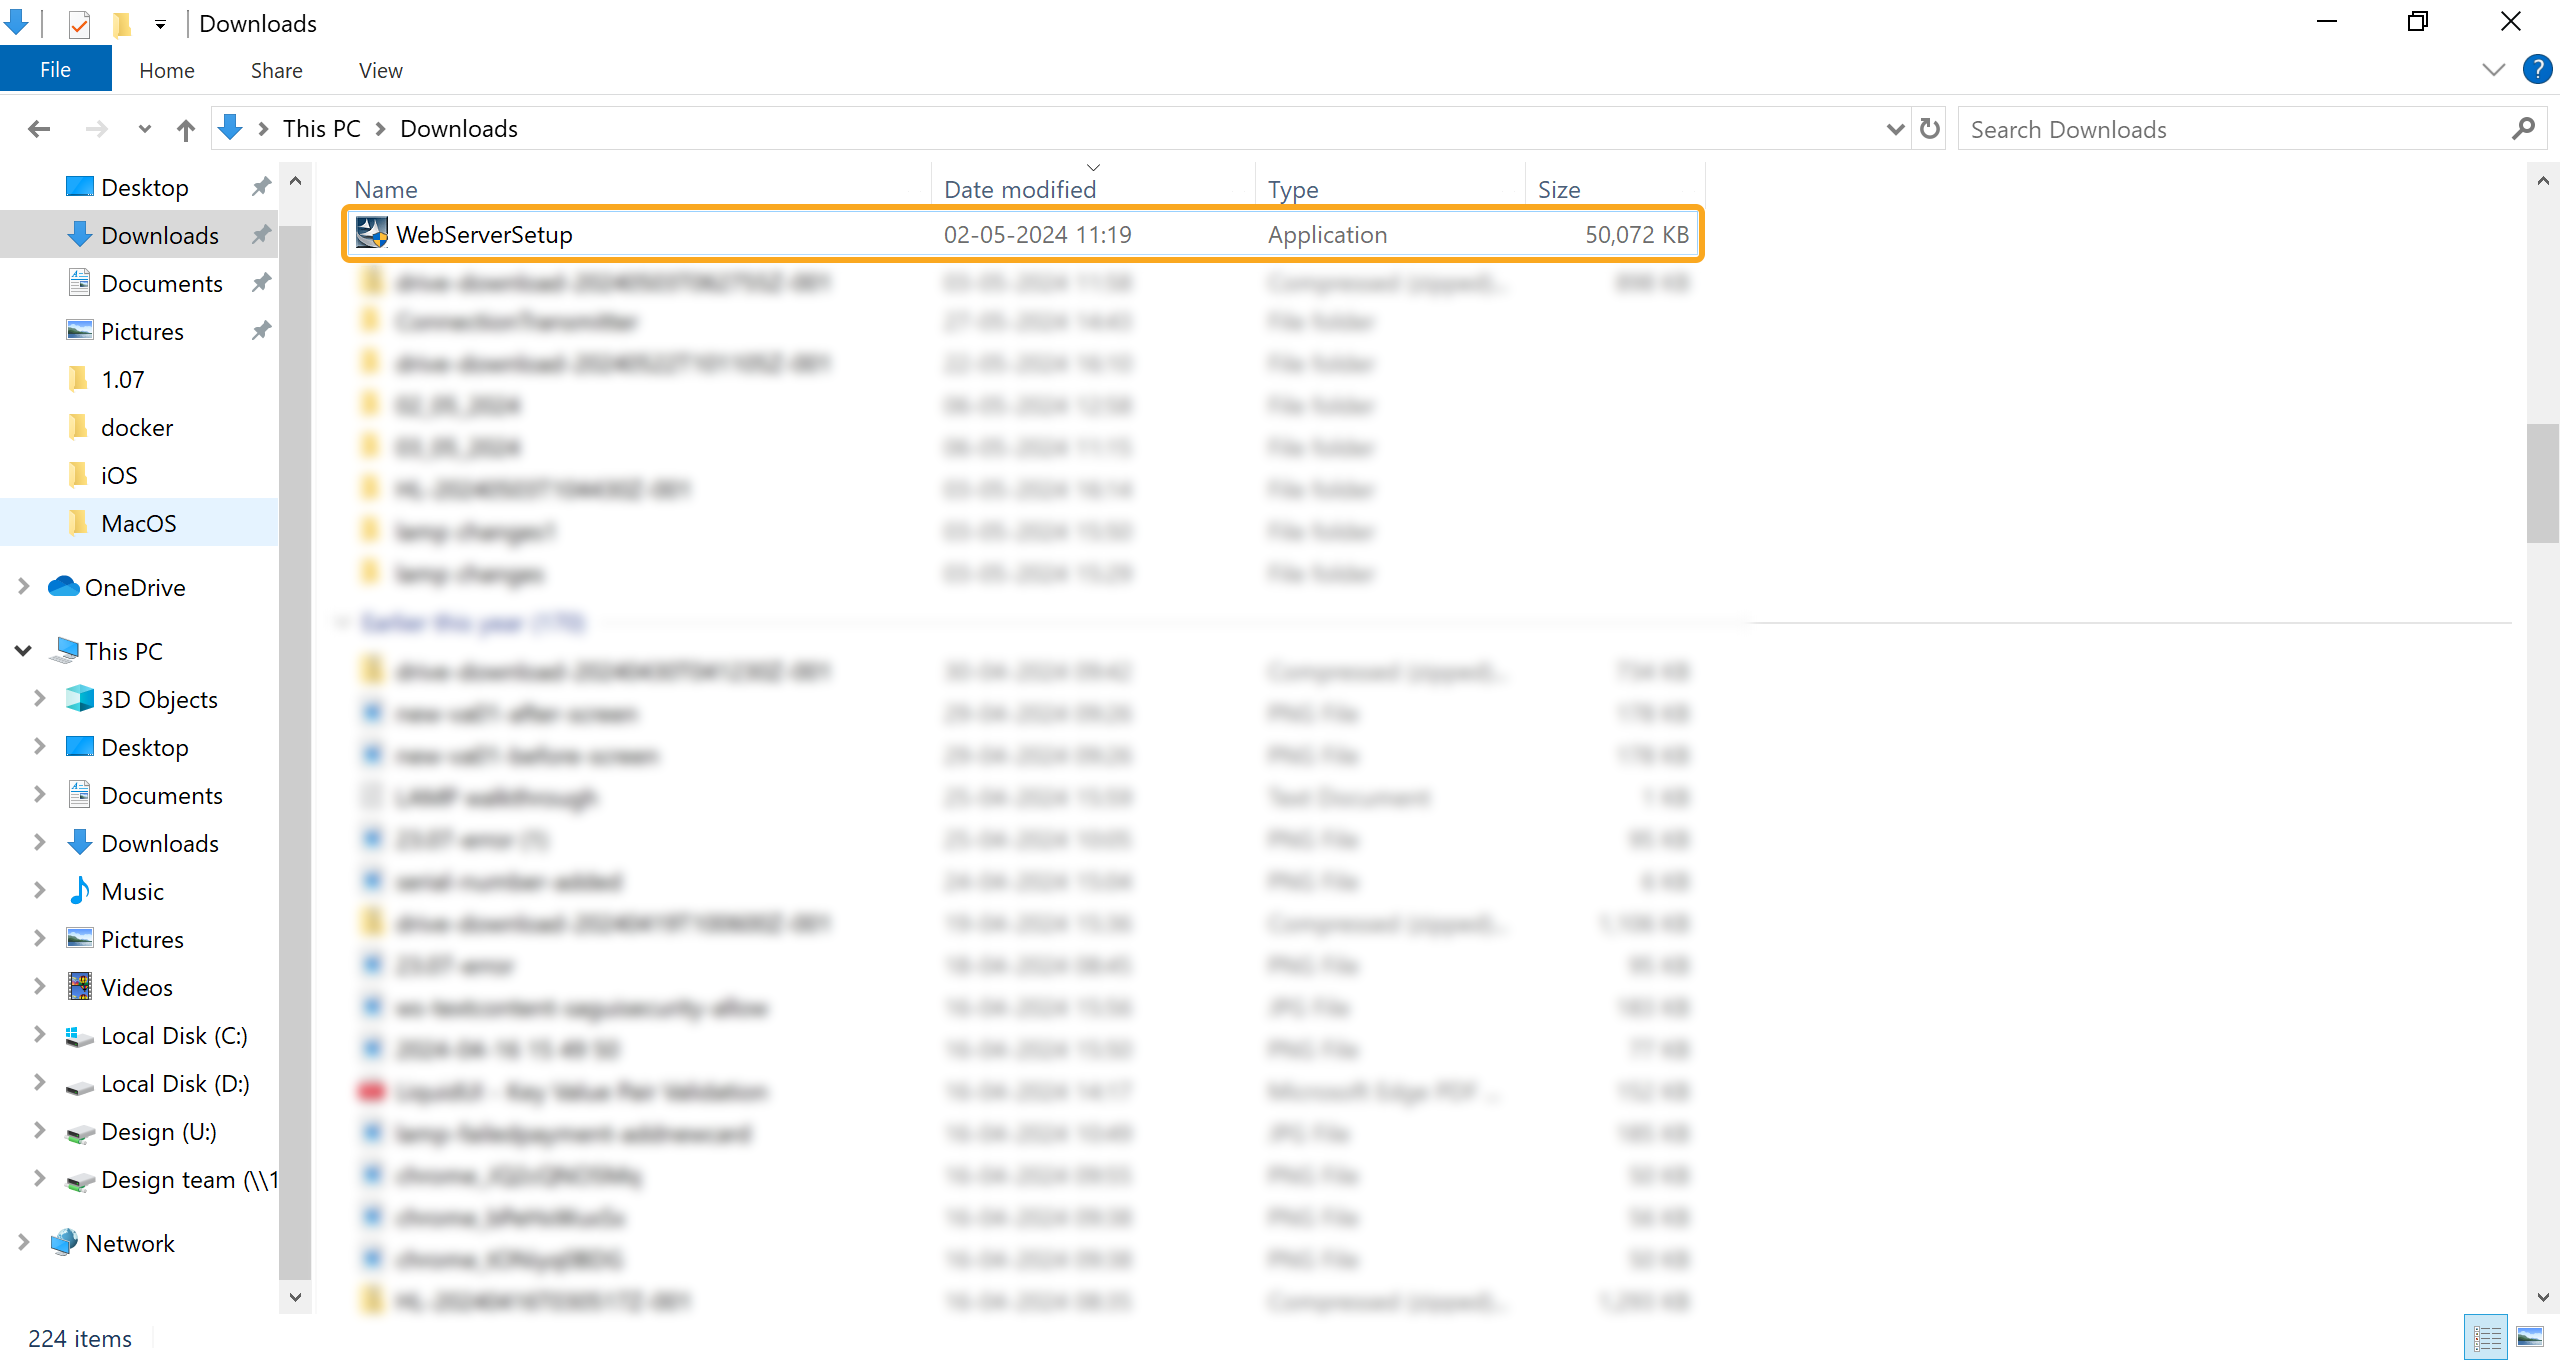
- Download the installer package from a location provided to you by Synactive Support or a sales representative. The install package is named WebServerSetup.exe.

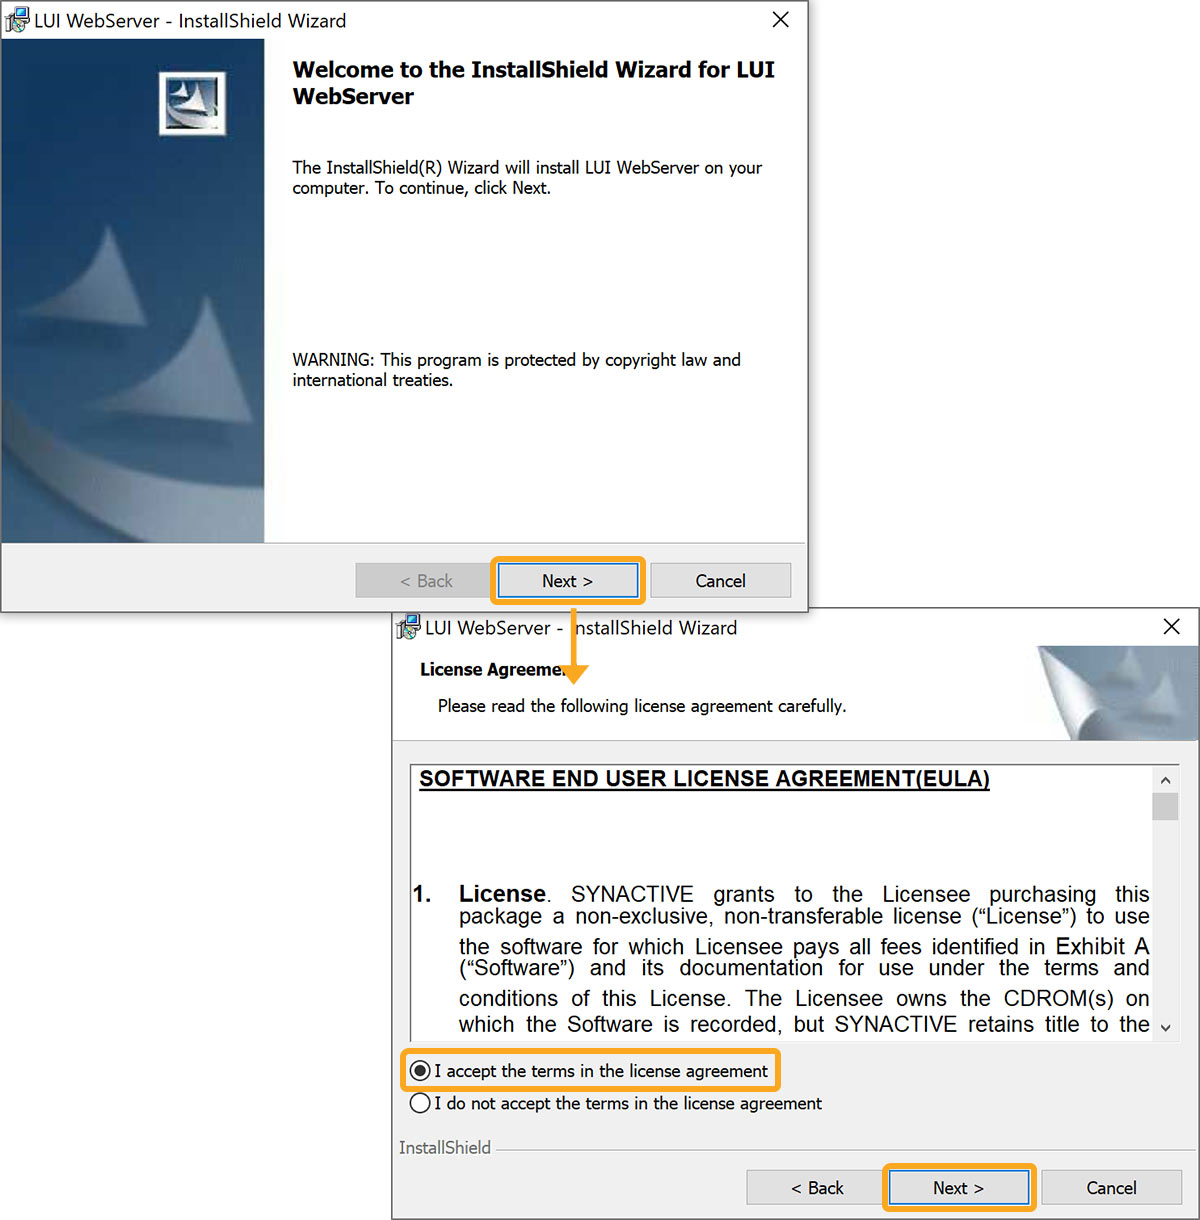
- Double-click Setup.exe to start the InstallShield Wizard. Click Next to display the License Agreement window. Read the license, select the check box, and click Next to proceed.

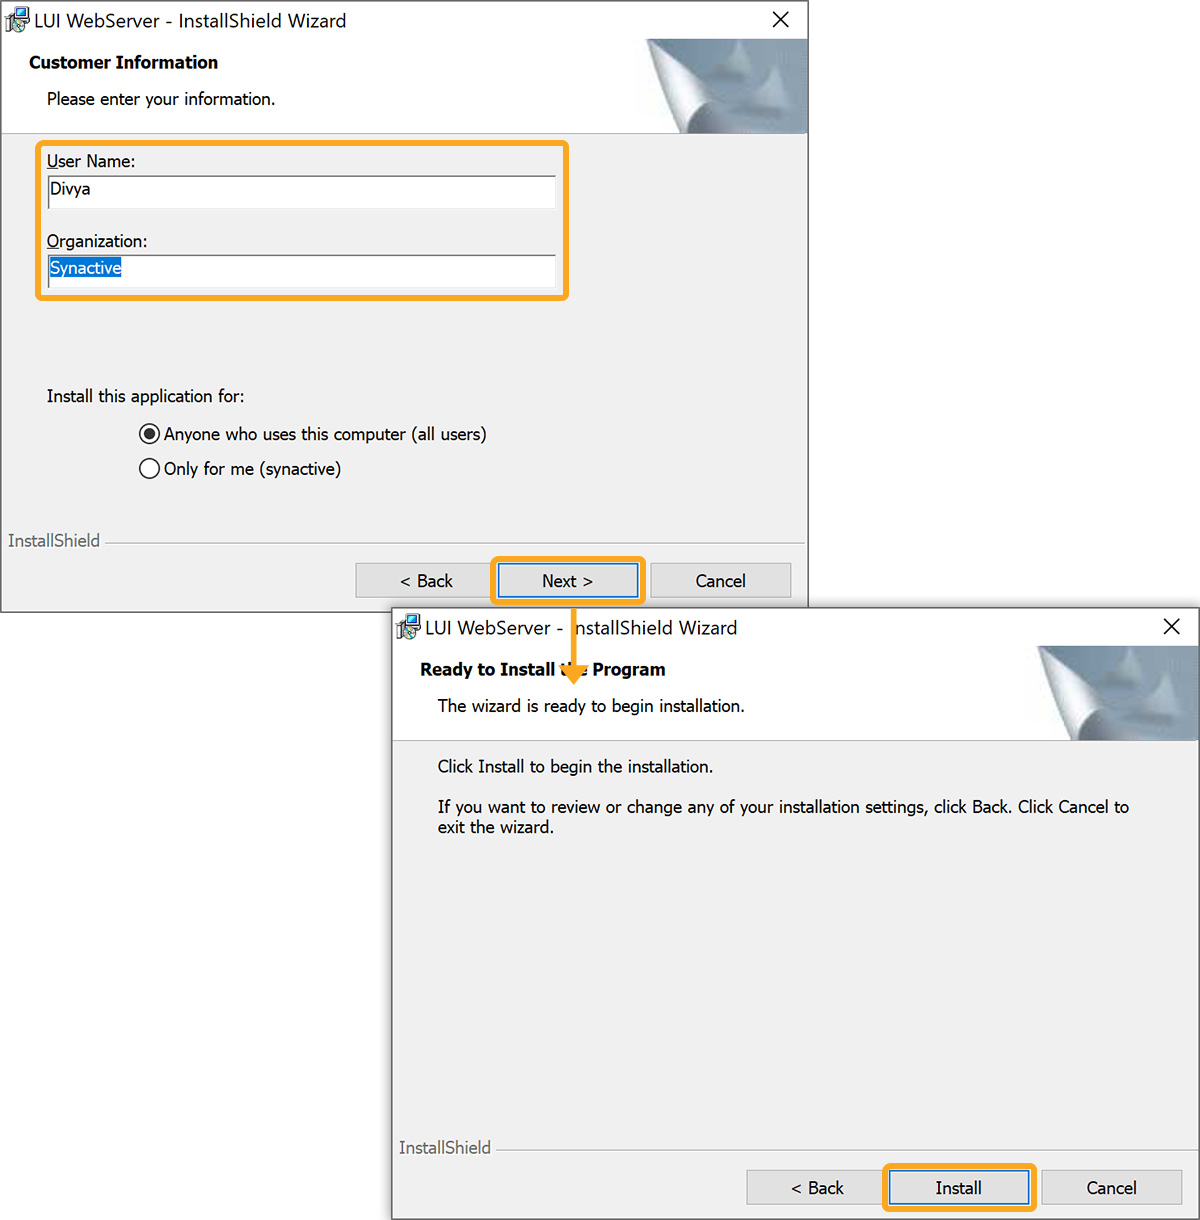
- On the Customer Information window, enter the required details and click Next. Then, the Ready to Install the Program window will appear. Click Install.

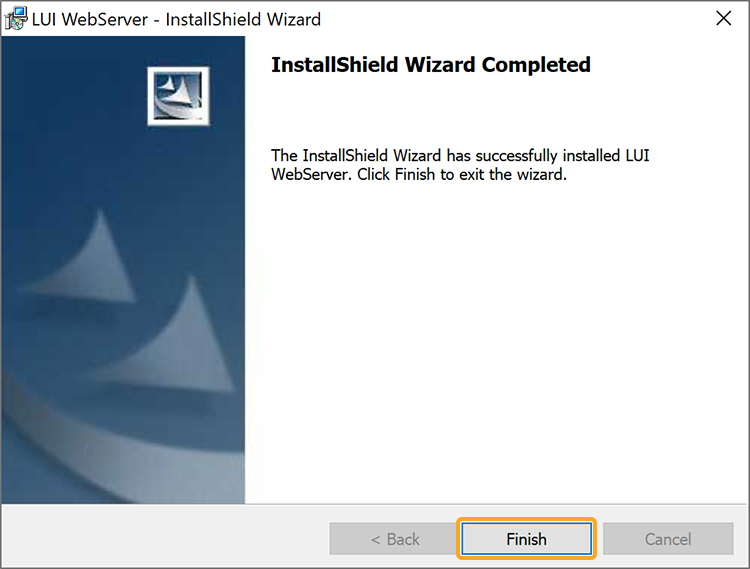
- Upon completion of the installation process, you’ll see the following window and select Finish.

- Now, the Liquid UI Bot is successfully installed on your target system. The directory where the bot will be installed is as follows.C:\Program Files\Liquid UI\FTE

Installing as Administrator
For certain systems, you may need to install the bot as an Administrator. To do this, please follow the instructions below.
- Close all SAP windows, including the Logon Pad.
- Log into the target machine as an Administrator. The bot installer requires full administrator privileges for proper installation.
- Right-click on the setup file and select Run as Administrator.
64-bit Installations
When you install a 64-bit version of the bot on a 64-bit system, the process will be the same as for the 32-bit install explained earlier. However, if you install a 32-bit version on a 64-bit system, the install path will be slightly different. For this installation, the directory will be as follows.
C:\Program Files\x86\Synactive Inc\FTE


