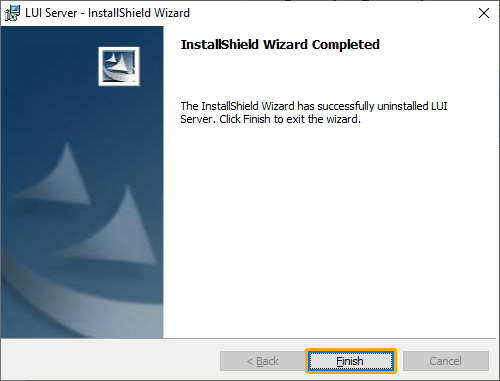
The InstallShield Wizard can also be used to modify, repair, or remove the Liquid UI Server installed on your system. The available options are as follows:
Modifying Liquid UI Server
To modify the Liquid UI Server, please follow the below steps:
-
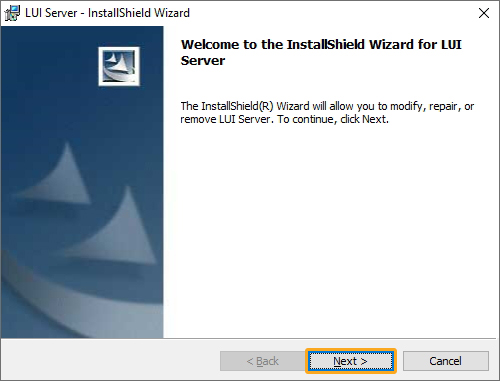
Double-click on the Liquid UI Server installer. The following screen will appear. Click Next to continue.
-
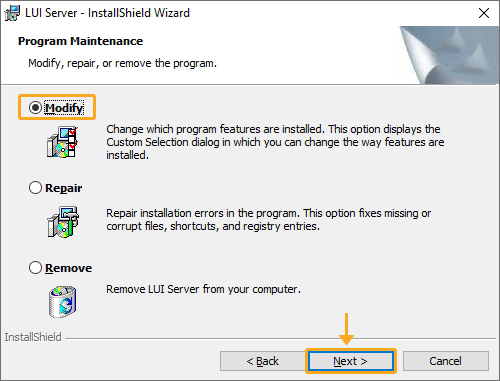
Click the Modify radiobutton to change the installed Liquid UI Server features. Then, click Next.
-
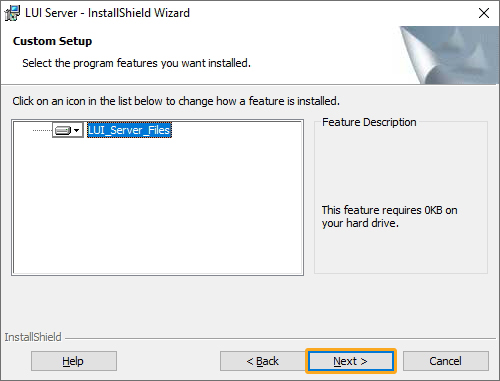
The Custom Setup screen appears, as shown below. Choose 'LUI_Server_Files' and then click Next.
-
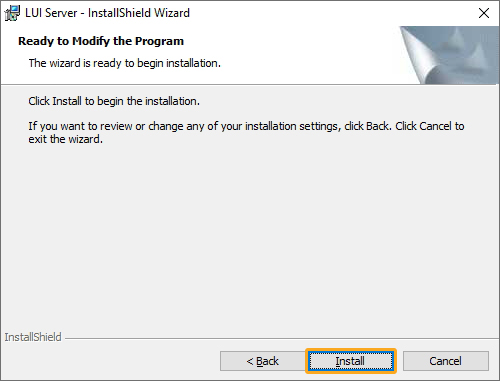
The Ready to Modify the Program screen appears, as shown below. Then, click Install to begin modifying Server installed components.
-
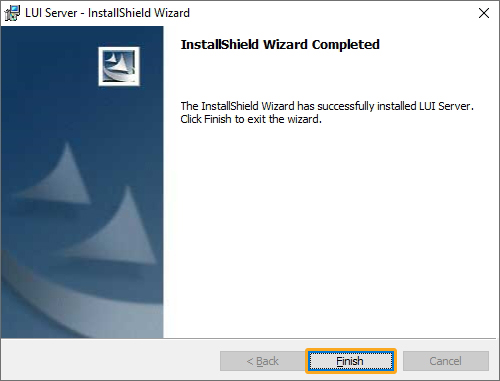
Click Finish on the install status screen, as shown below:
Repairing Liquid UI Server
There might be times when the Liquid UI Server files get corrupted after installation. To repair the Liquid UI Server, please follow the below steps:
-
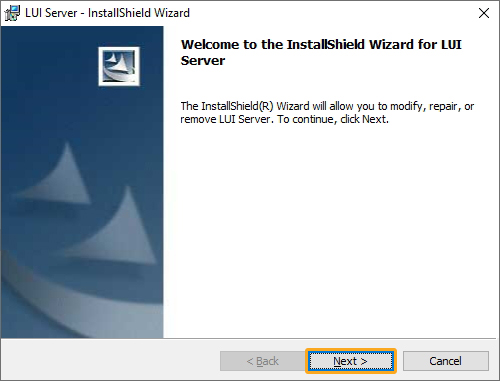
Double-click on the Liquid UI Server installer. The following screen will appear. Click Next to continue.
-
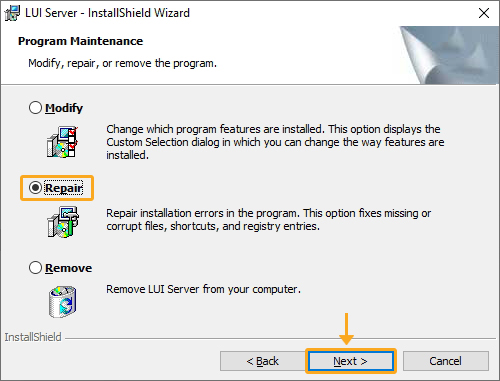
Click the Repair radiobutton to fix the issues in your Liquid UI Server components. Then, click Next.
-
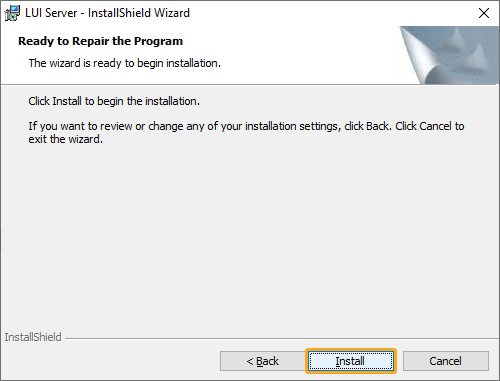
The Ready to Repair the Program screen appears, as shown below. Click Install to start the repairing process.
-
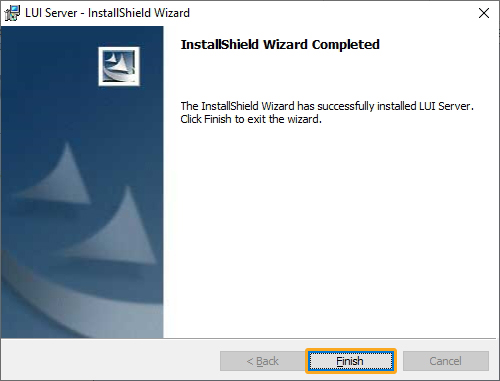
Click Finish on the install screen to complete the repairing process of Liquid UI Server components, as shown below:
Removing Liquid UI Server
To remove the Liquid UI Server from your system, please follow the below steps:
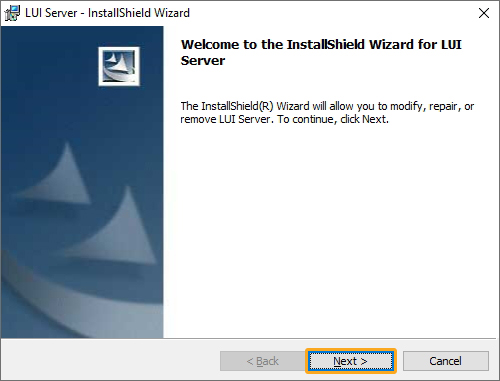
- Double-click on the Liquid UI Server installer. The following screen will appear. Click Next to continue.
-
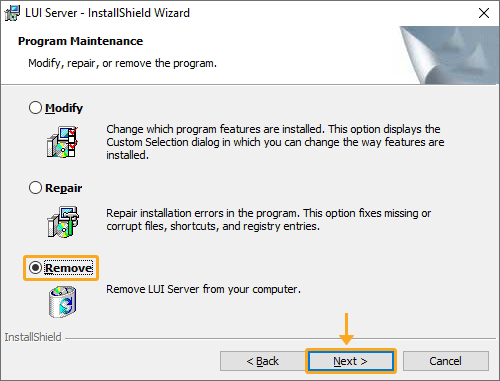
Click the Remove radiobutton to remove the Liquid UI Server. Then, click Next.
-
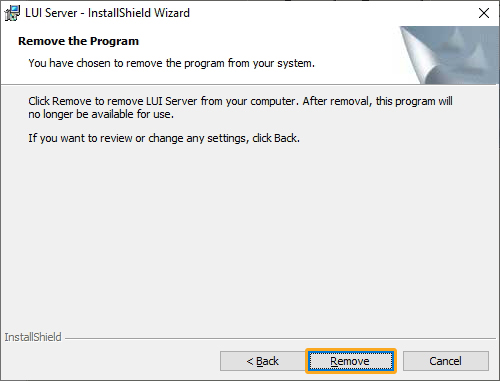
Remove the Program screen appears, as shown below. Click Remove.
-
Click Finish on the install screen, as shown below. Now, the Liquid UI Server components removed from your system.
