Prerequisites
- Products: Liquid UI WS, Liquid UI Server or Local DLL, Client Software
- Commands: onscreen(), pushbutton(), set(), enter()
Purpose
Learn how to create a notification on an SAP screen with a single click. To explain this, we’ll walk you through the following steps.
- Add a pushbutton to run a process
- Add a function to run your own process to create a notification
- Creates a notification with a single click
User Interface
//Create this file inside your script folder for customizing Create Notification screen: SAPLIQS0.E0100.sjs
//Now let's add the content to the above file
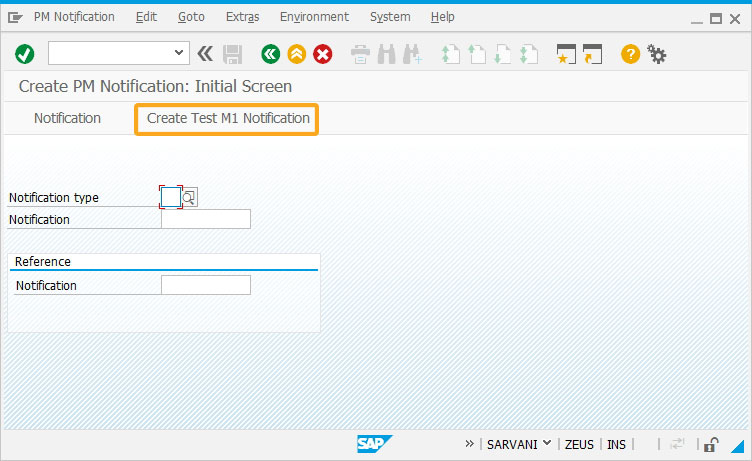
- Add a toolbar pushbutton with the label Create Test M1 Notification on the Create PM Notification: Initial screen, as shown below.
// Have the process run with a click of a button
pushbutton([TOOLBAR], "Create Test M1 Notification",{"process":iw21CreateNotif});

- Add a function with a series of actions to be performed to create a notification as per the requirement.
// Have the process run with a click of a button function iw21CreateNotif(){ println("in this function"); // Enter M1 as Notification Type set("F[Notification type]", "M1");
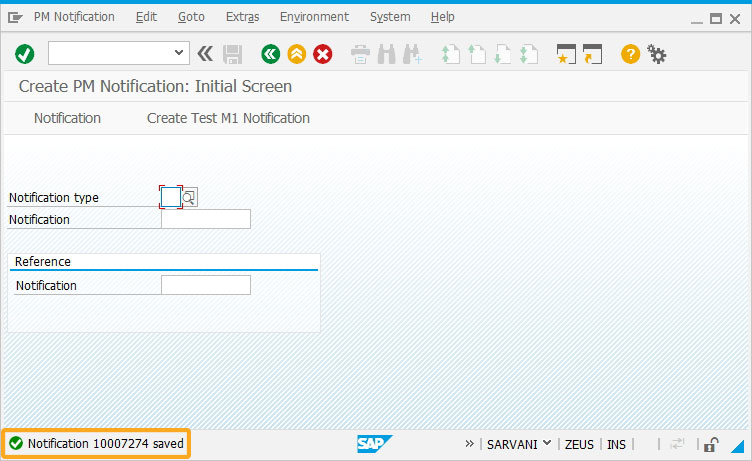
enter(); // this is the second screen of IW21 onscreen 'SAPLIQS0.7200' // this field is for the notification description set("F[VIQMEL-QMTXT]", "test"); set("F[Functional loc.]", "21-B02"); set("F[Equipment]", "TEQ-21"); // "/11" is the Save command enter('/11'); } - Refresh the screen and Click the Create Test M1 Notification toolbar pushbutton. You will see the success message displayed on the status bar as Notification created, as shown in the following image.

Next Steps

Purchase Order Screens
Learn how to access six different purchase order transactions on a single screen
Learn how to access six different purchase order transactions on a single screen
10 min.
This article is part of the Screens combination/aggregation tutorial.


