Prerequisites
- Products: Liquid UI WS, Liquid UI Server or Local DLL, Client Software
- Commands: box(), pushbutton()
Purpose
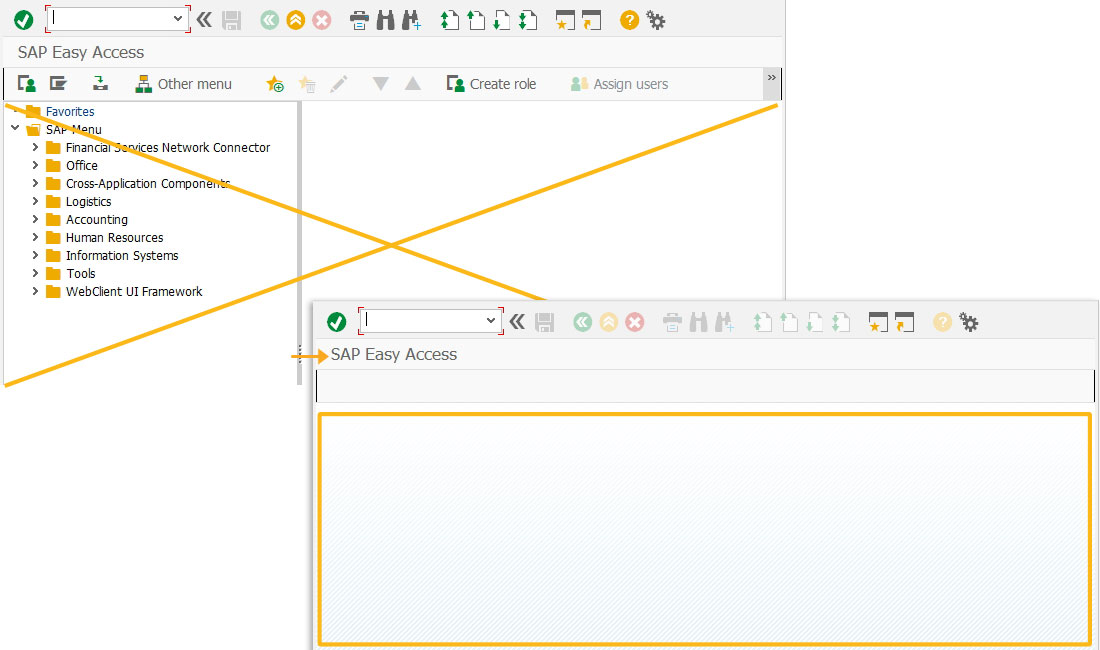
You will learn how to create different launchpads in different layouts on the SAP Easy Access screen.
//Create this file inside your script folder for customizing SAP Easy Access screen: SAPLSMTR_NAVIGATION.E0100.sjs
//Now let's start adding the content to the above file
- Delete the image container
del('X[IMAGE_CONTAINER]');
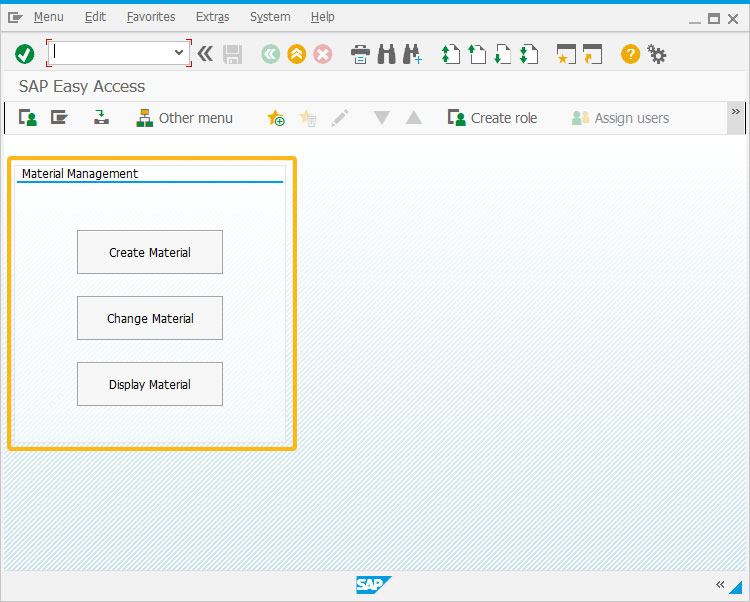
- Add three pushbuttons and a group box in a vertical layout.
On-click, you will be navigated to Create Material screen, Change Material screen and Display Material screen from the same screen.
box([1,1],[13,38],"Material Management");
pushbutton([4,10],"Create Material","/nmm01",{"size":[2,20]});
pushbutton([7,10],"Change Material","/nmm02",{"size":[2,20]});
pushbutton([10,10],"Display Material","/nmm03",{"size":[2,20]});

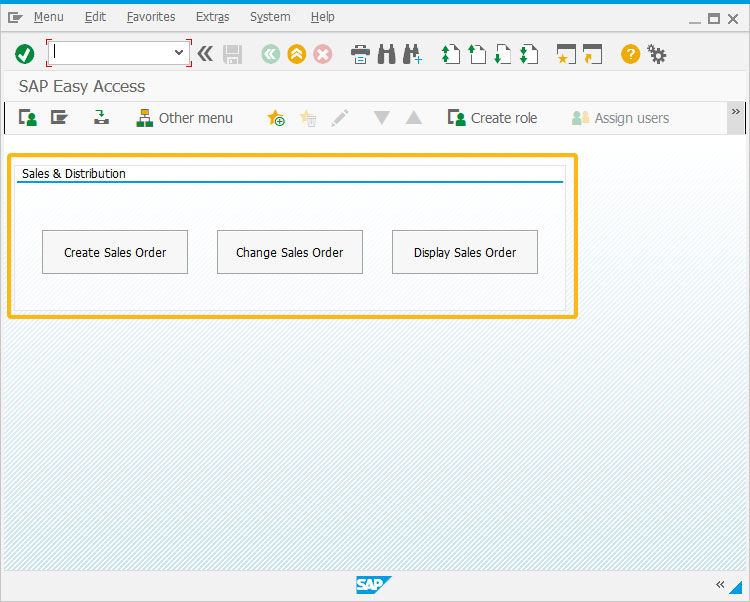
- Add three pushbuttons and a group box in a horizontal layout.
On-click, you will be navigated to Create Sales Order screen, Change Sales Order screen and Display Sales Order screen from the same screen.
box([1,1],[7,78],"Sales & Distribution");
pushbutton([4,5],"Create Sales Order","/nva01",{"size":[2,20]});
pushbutton([4,30],"Change Sales Order","/nva02",{"size":[2,20]});
pushbutton([4,55],"Display Sales Order","/nva03",{"size":[2,20]});

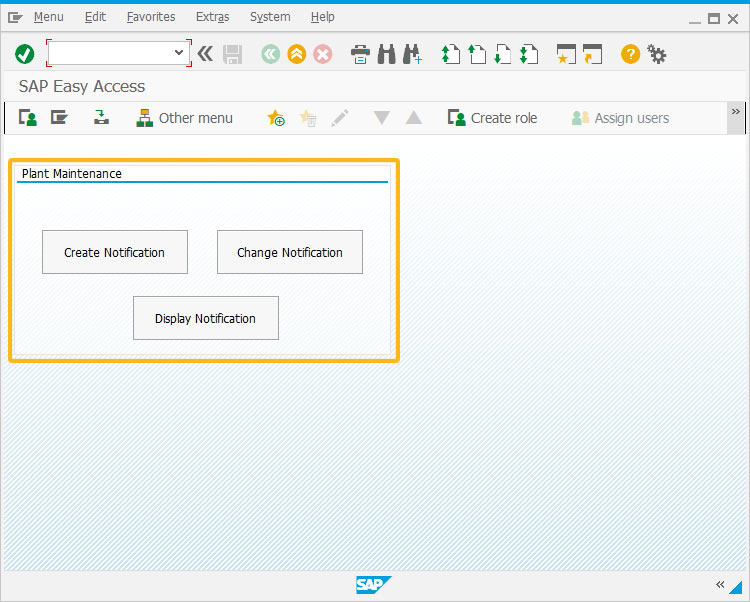
- Add three pushbuttons and a group box in a random layout.
On-click, you will be navigated to Create Notification screen, Change Notification screen and Display Notification screen from the same screen.
box([1,1],[9,53],"Plant Maintenance");
pushbutton([4,5],"Create Notification","/niw21",{"size":[2,20]});
pushbutton([4,30],"Change Notification","/niw22",{"size":[2,20]});
pushbutton([7,18],"Display Notification ","/niw23",{"size":[2,20]});

Next Steps
This article is part of the 2.0 Create your own launch pad on SAP Easy Access screen tutorial.


