Prerequisites
- Products: Liquid UI WS, Liquid UI Server or Local DLL, Client Software
- Commands: column(), noinput()
Purpose
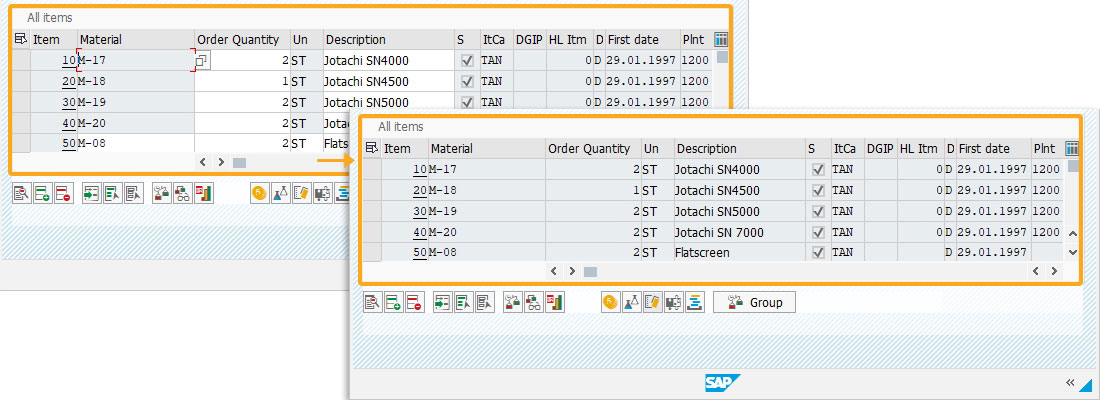
In this scenario, you will learn how to customize the SAP table by changing the properties of a column as per the requirement using the WS changing elements. We will walk you through the following steps.
- Change the column width using the columnwidth command
- Change the column name using the columnheader command
- Change the Quantity column order using the columnorder command
- Make the Material column non-editable using the noinput command
- Make the table non-editable using the noinput command
//Create this file inside your script folder for customizing the Change Sales Order Overview screen: SAPMV45A.E4001.SJS
//Now, let's start adding the Liquid UI script to the above file and save it.
- Changing column width: In the following example, the pixel-width of the Material column is changed using columnwidth().
//Changes column width
columnwidth("All items,Material",4);
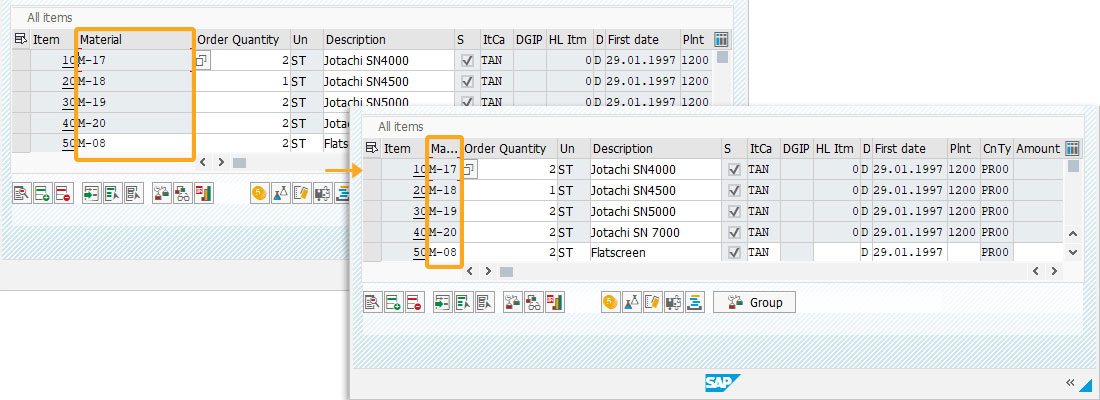
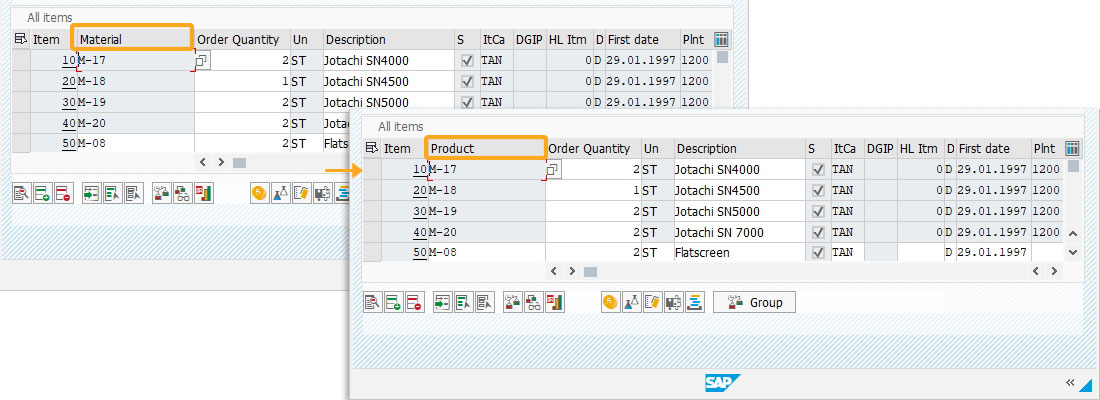
- Changing column name: Here, the name of the Material column is changed to Product using columnheader().
//Changes column name
columnheader("All items,Material","Product");
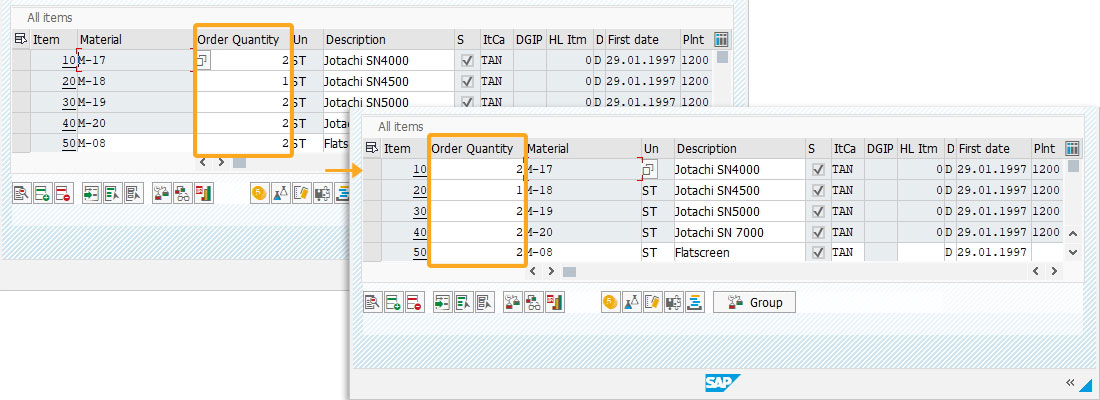
- Changing column order: Using the columnorder(), the Order Quantity column is moved from the 3rd position to the 2nd position in the table.
//Changes column width
columnorder("All items,Order Quantity",2);
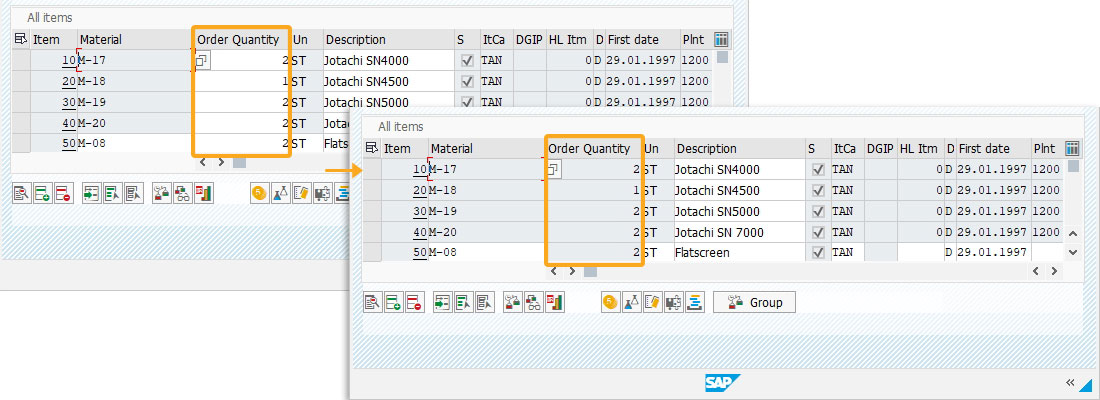
- Making column noneditable: Here, we made the Order Quantity column non-editable using the noinput().
//Makes column non-editable
noinput("All items,Order Quantity");
- Making table noneditable: Using the noinput(), the All Items table has been made noneditable.
//Makes table non-editable
noinput("[All items]");
Next Steps
This article is part of the 4.0 Take a deep dive into the SAP table and Liquid UI table


