Configuring Output device(printer) in SAP:
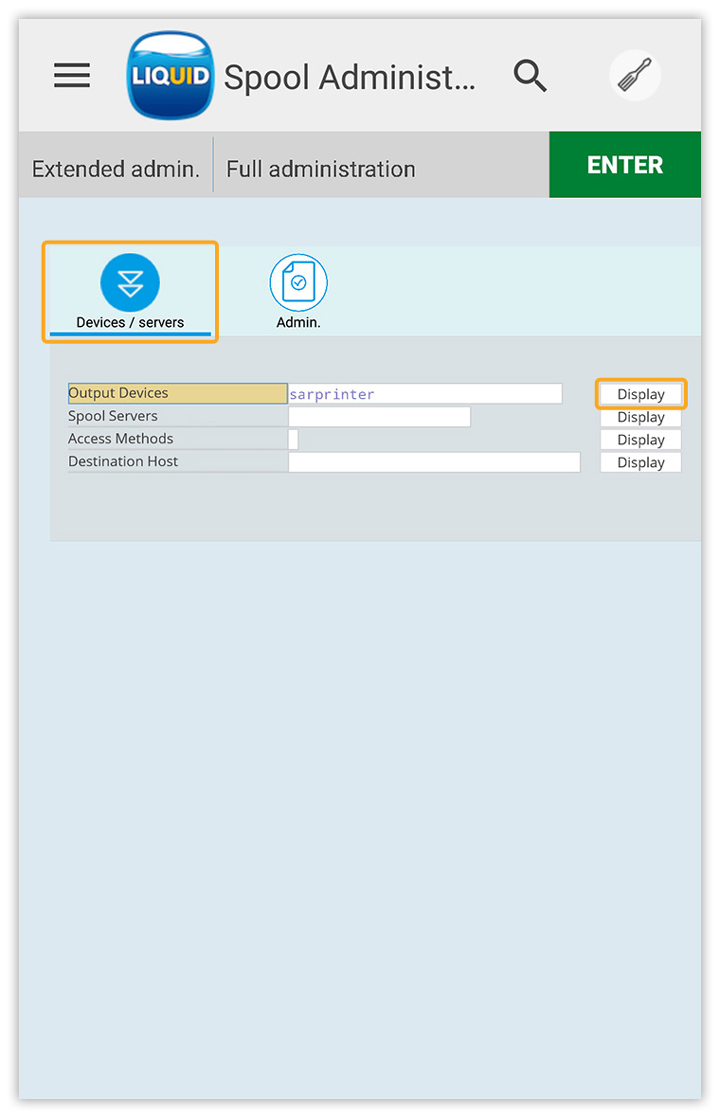
- Navigate to the SPAD transaction (Spool Administration: Initial Screen). Click on the Devices/servers tab, enter the name of the output device, and tap on the Display button, as shown in the image below.
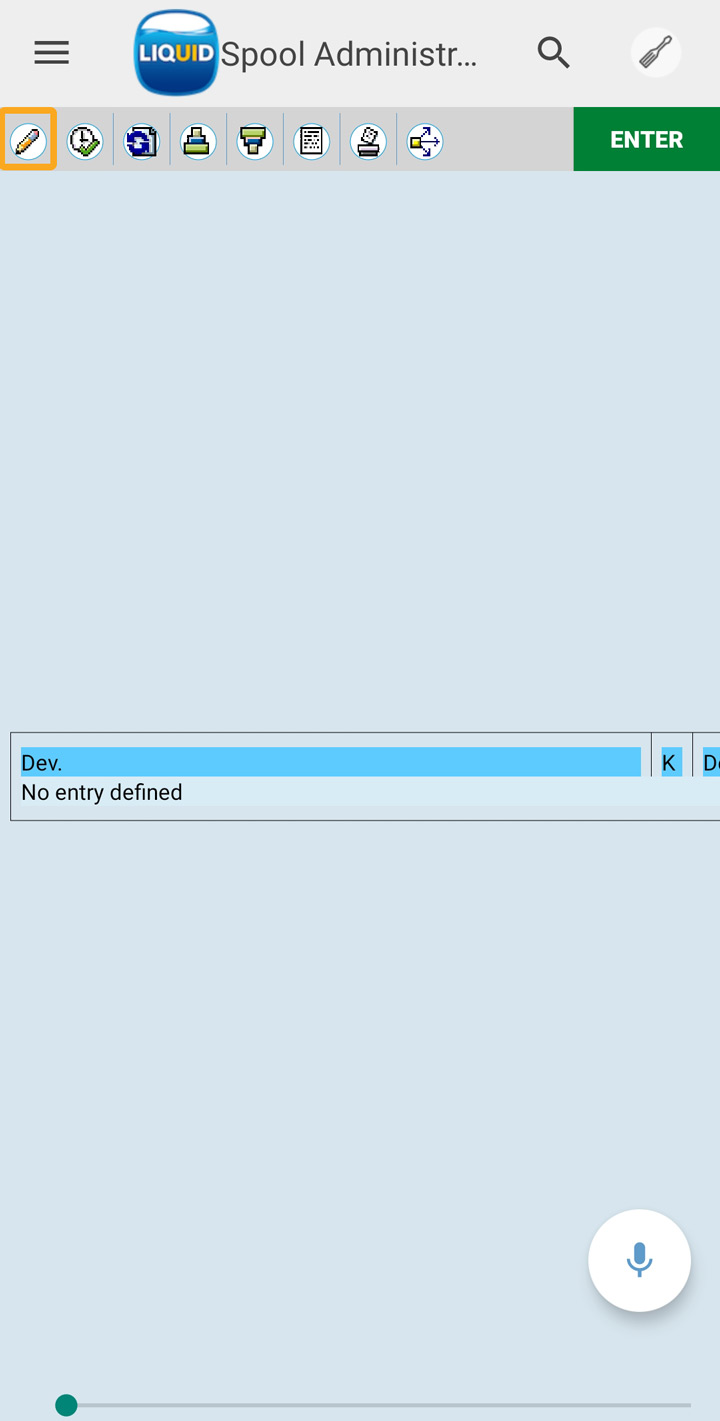
- If the printer is already configured, it will display all the details of device attributes, output device attributes, and tray info. If you enter a new printer name, you will navigate to the screen below. Then, click on the Change button to view the create option.
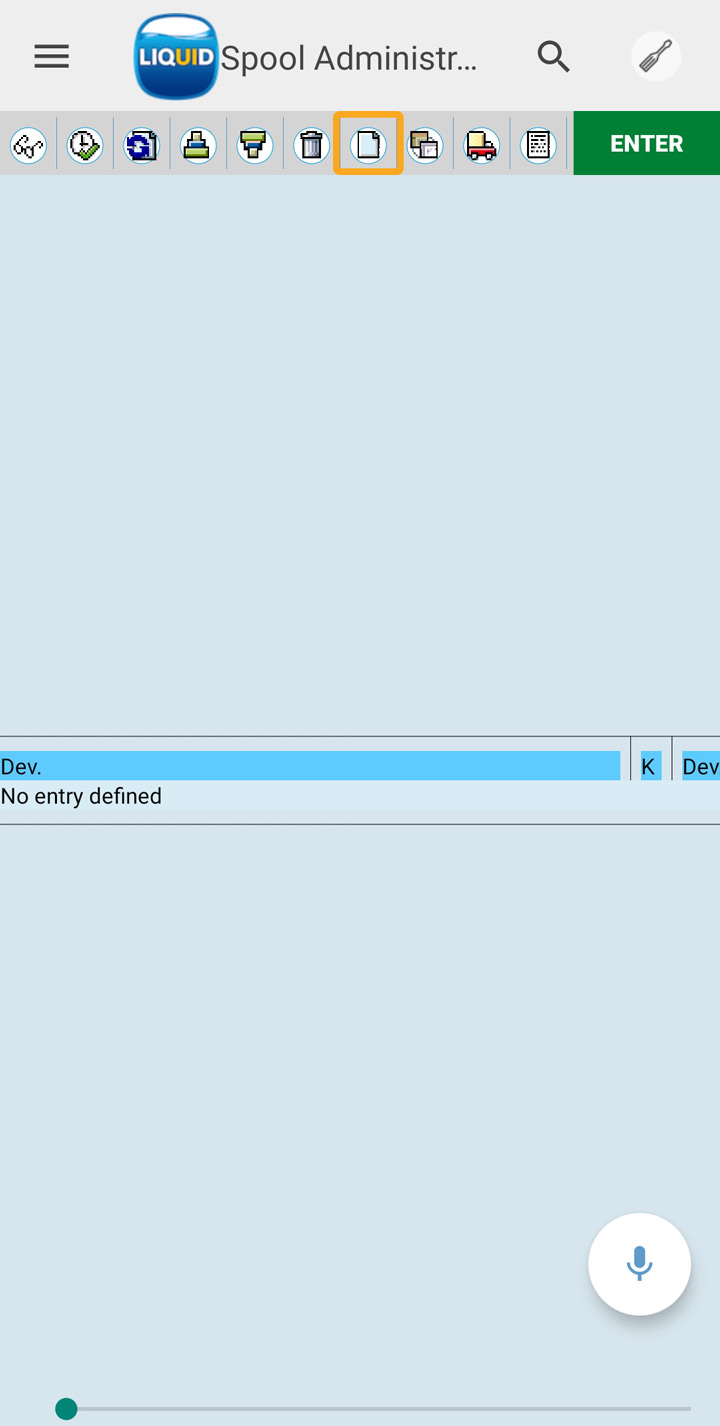
- Click on the Create button to generate the output device with the required configurations.
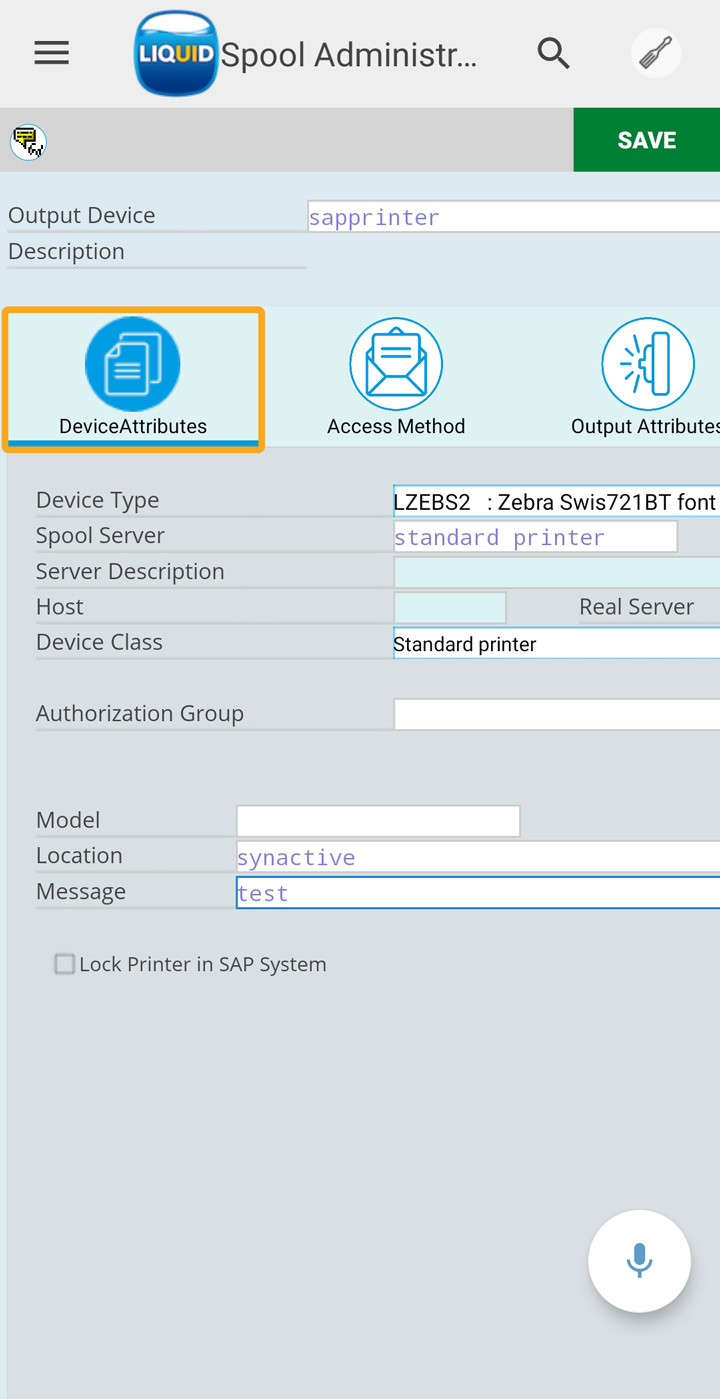
- Select the DeviceAttributes button and enter the following details:
- Device Type: Select the device type that is compatible with your printer.
- Device Class: Select the device class to which it belongs. A standard printer is a default.
- Location: Enter your location name
- Message: Enter the purpose of the printer.
- Authorization Group and Model are optional fields.
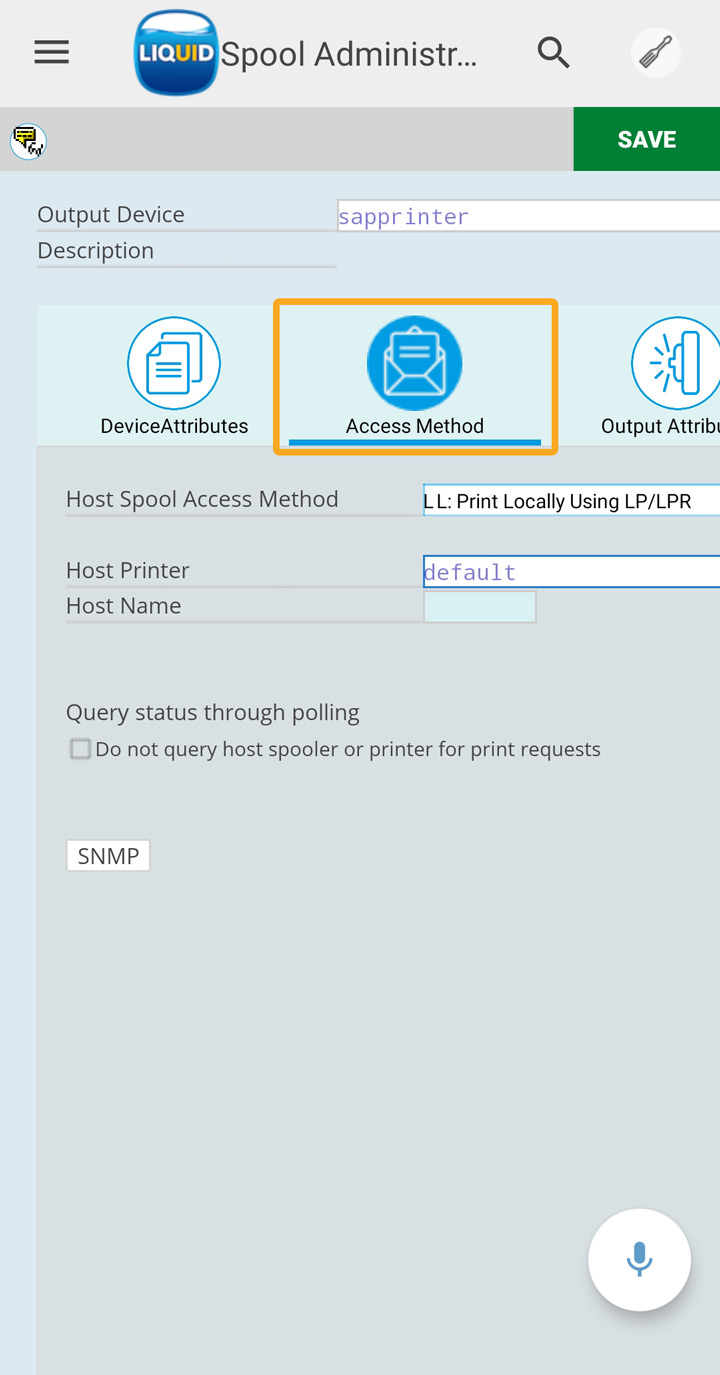
- Now, select the Access Method tab and enter the following details:
- Host Spool Access Method: Select F: Printing on Front End Computer as default.
- Host Printer: _default
- No Device Selection at Frontend: Check or uncheck this field as per your requirement.
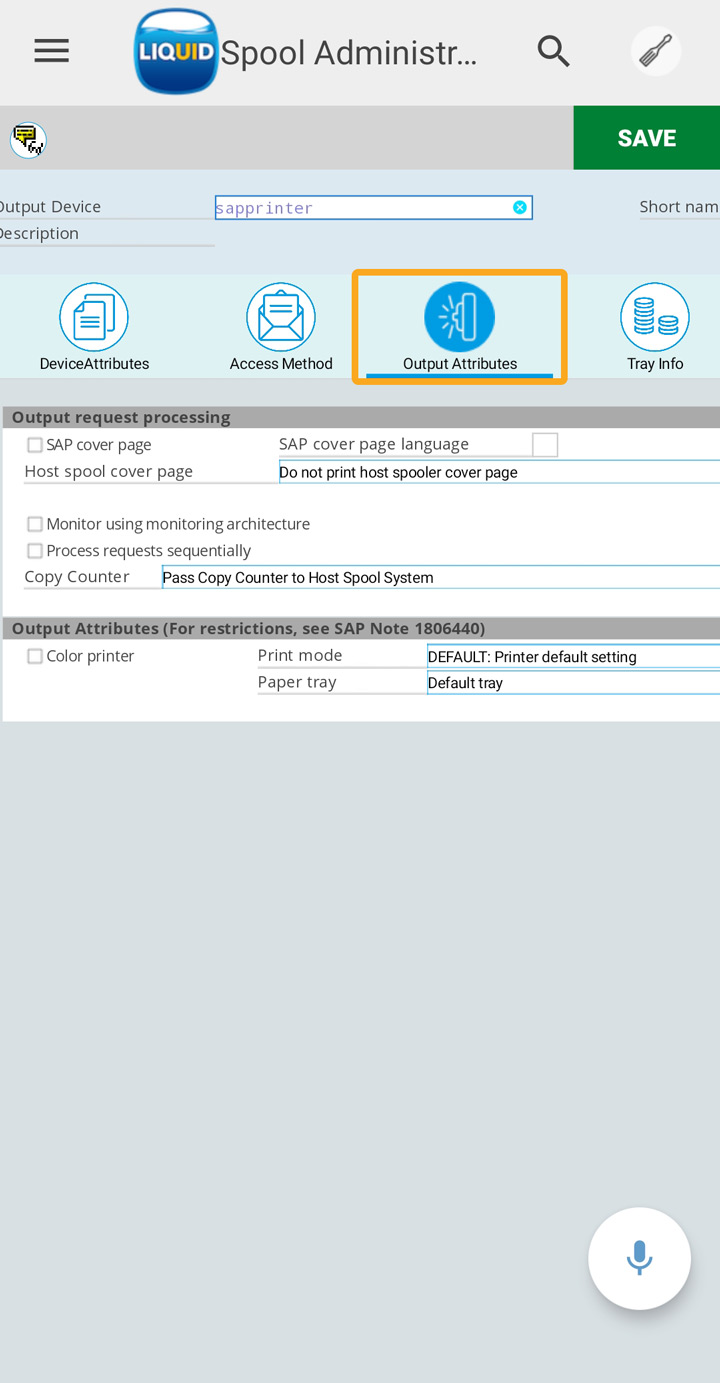
- Click on the Output Attributes tab and enter the following details:
- SAP cover page – Check
- SAP cover page language – EN
- Process requests sequentially – Check
- Copy Counter – Pass Copy Counter to Host Spool System
- Print mode – DEFAULT: Printer default setting
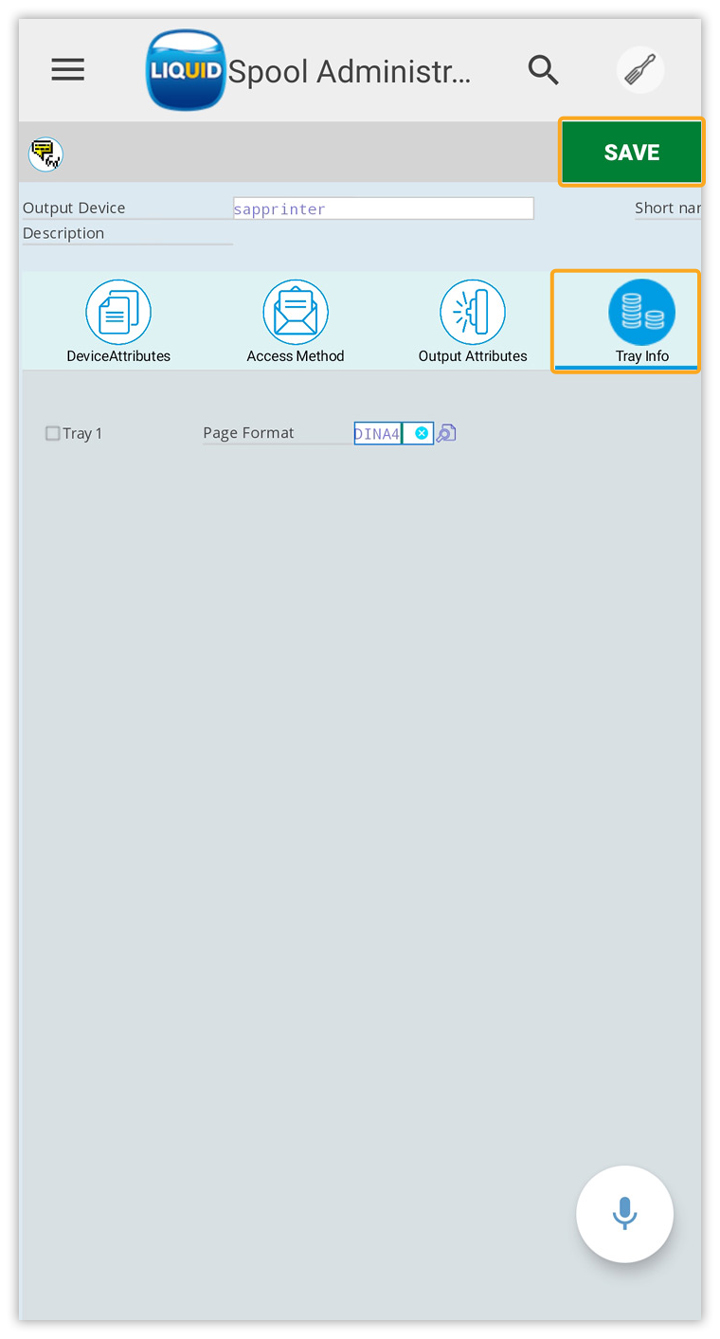
- Click on the Tray Info tab to select the page format for printing and click the SAVE button to save the settings, as shown in the image below.
Setting the output device to the user
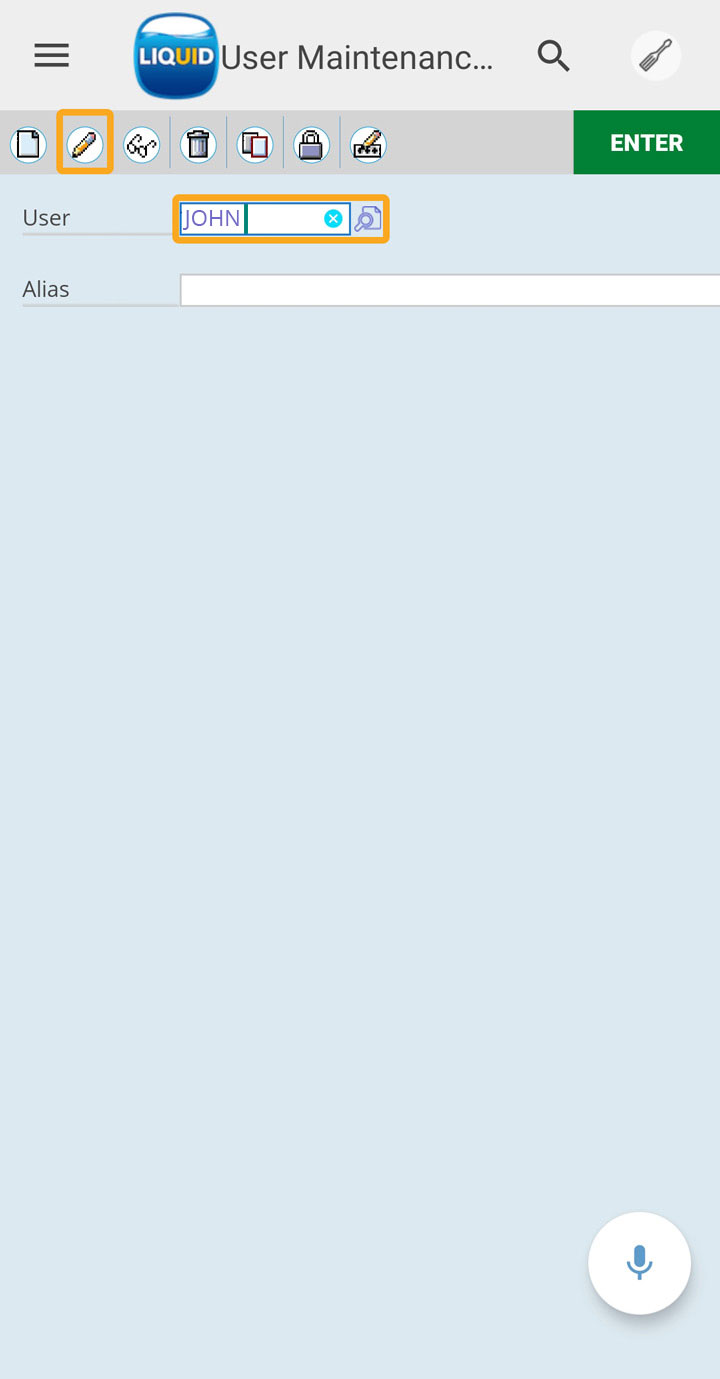
- Navigate to the SU01 transaction screen and enter the username in the User input field, click on the Change button.
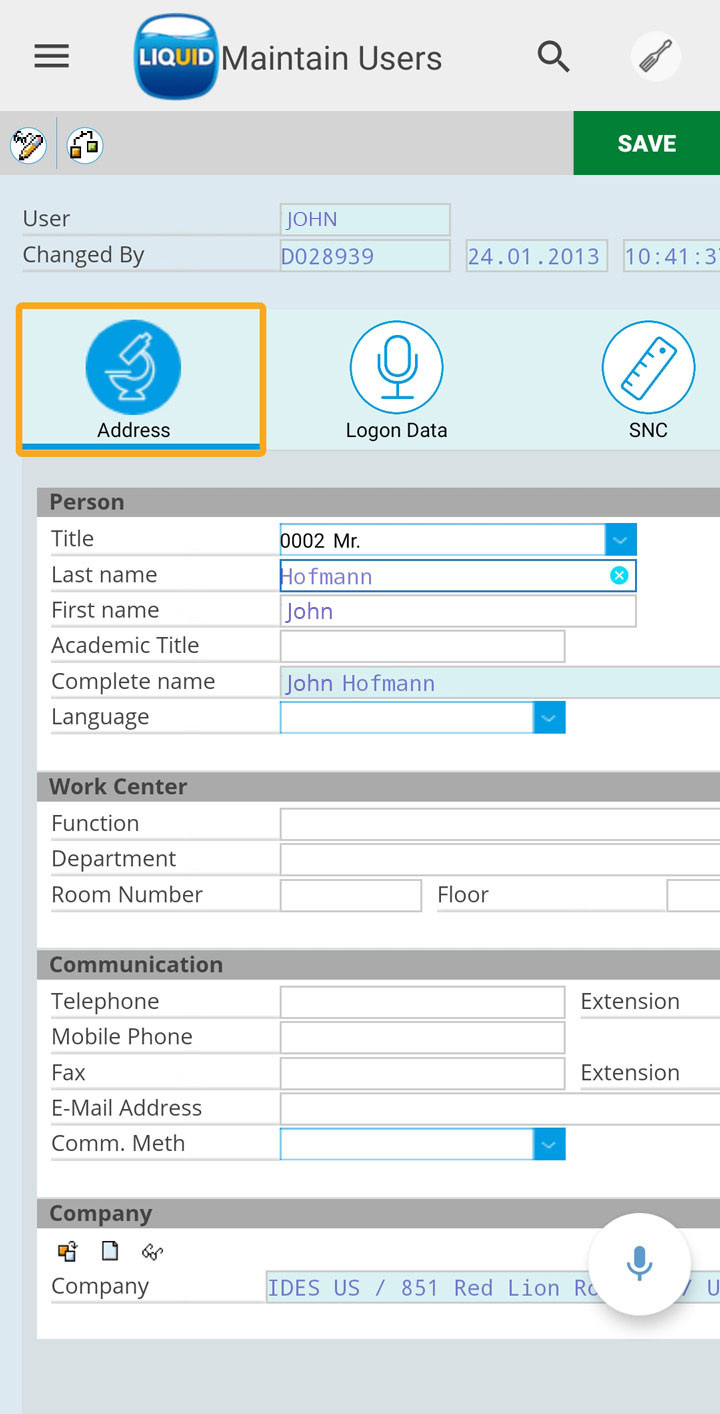
- You will be navigated to the Maintain Users page, and click on the Address tab, as shown in the image below.
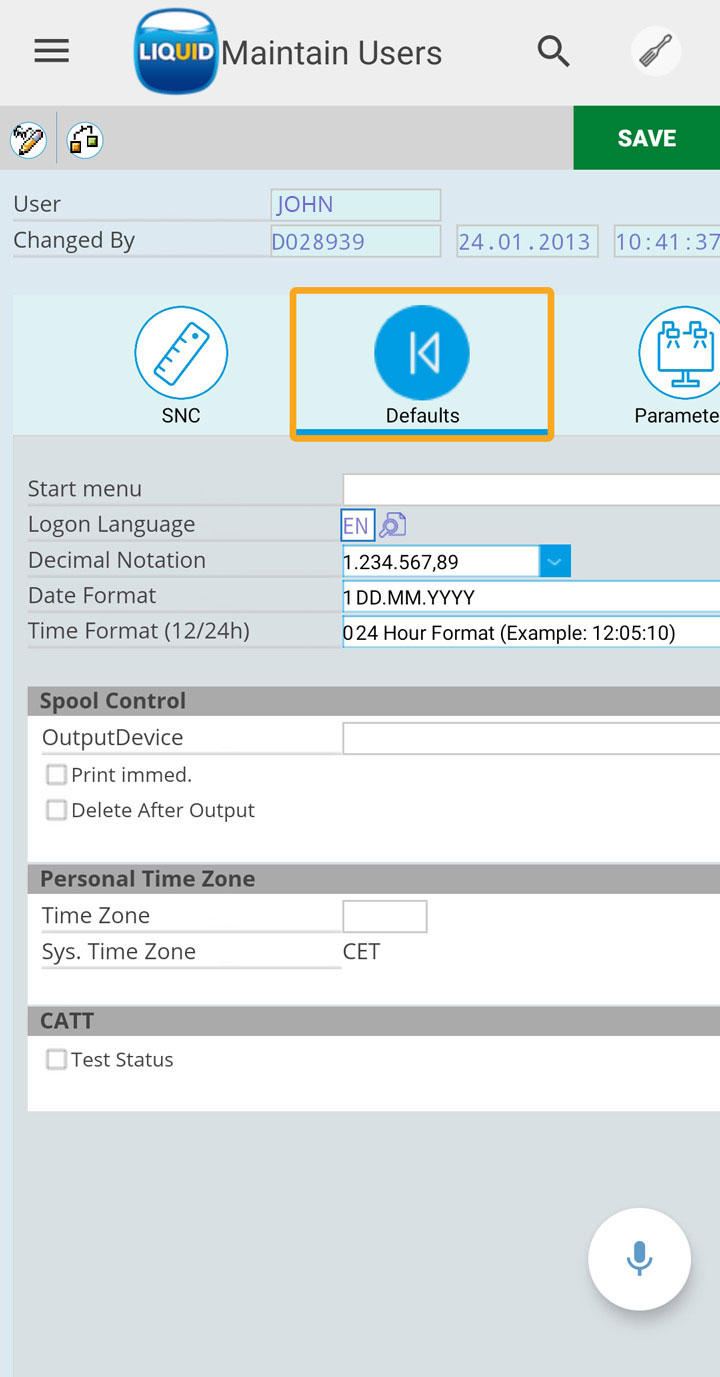
- Click on the Defaults tab and enter the name of the output device that is created in the SPAD transaction.
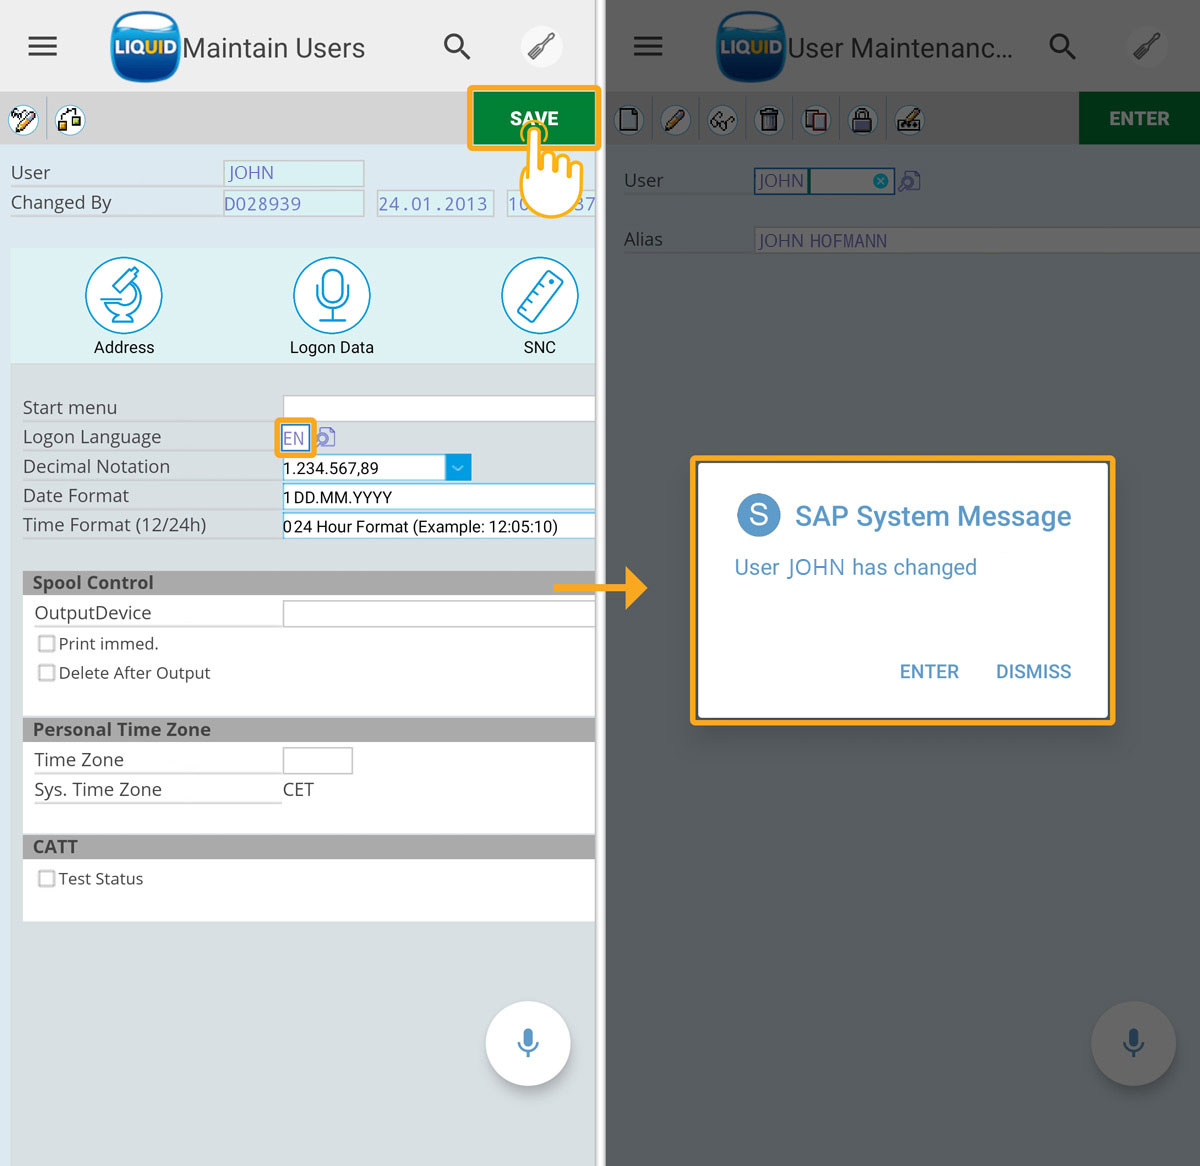
- Click on the SAVE button to save the user data and display the success message as User JOHN has changed, as shown below.
